Bathroom Floor Refresh: how I changed the color of my grout
- Rachel
- Jan 4, 2017
- 3 min read
Let me preface this, we have been changing the color of our grout for the last 9 months but not in a good way. When we first bought our house we knew we had to redo the master bathroom first. We didn't necessarily hate the way it looked but the subfloor was rotting which caused the tiles to crack. So before we moved in, that was the first thing we did.

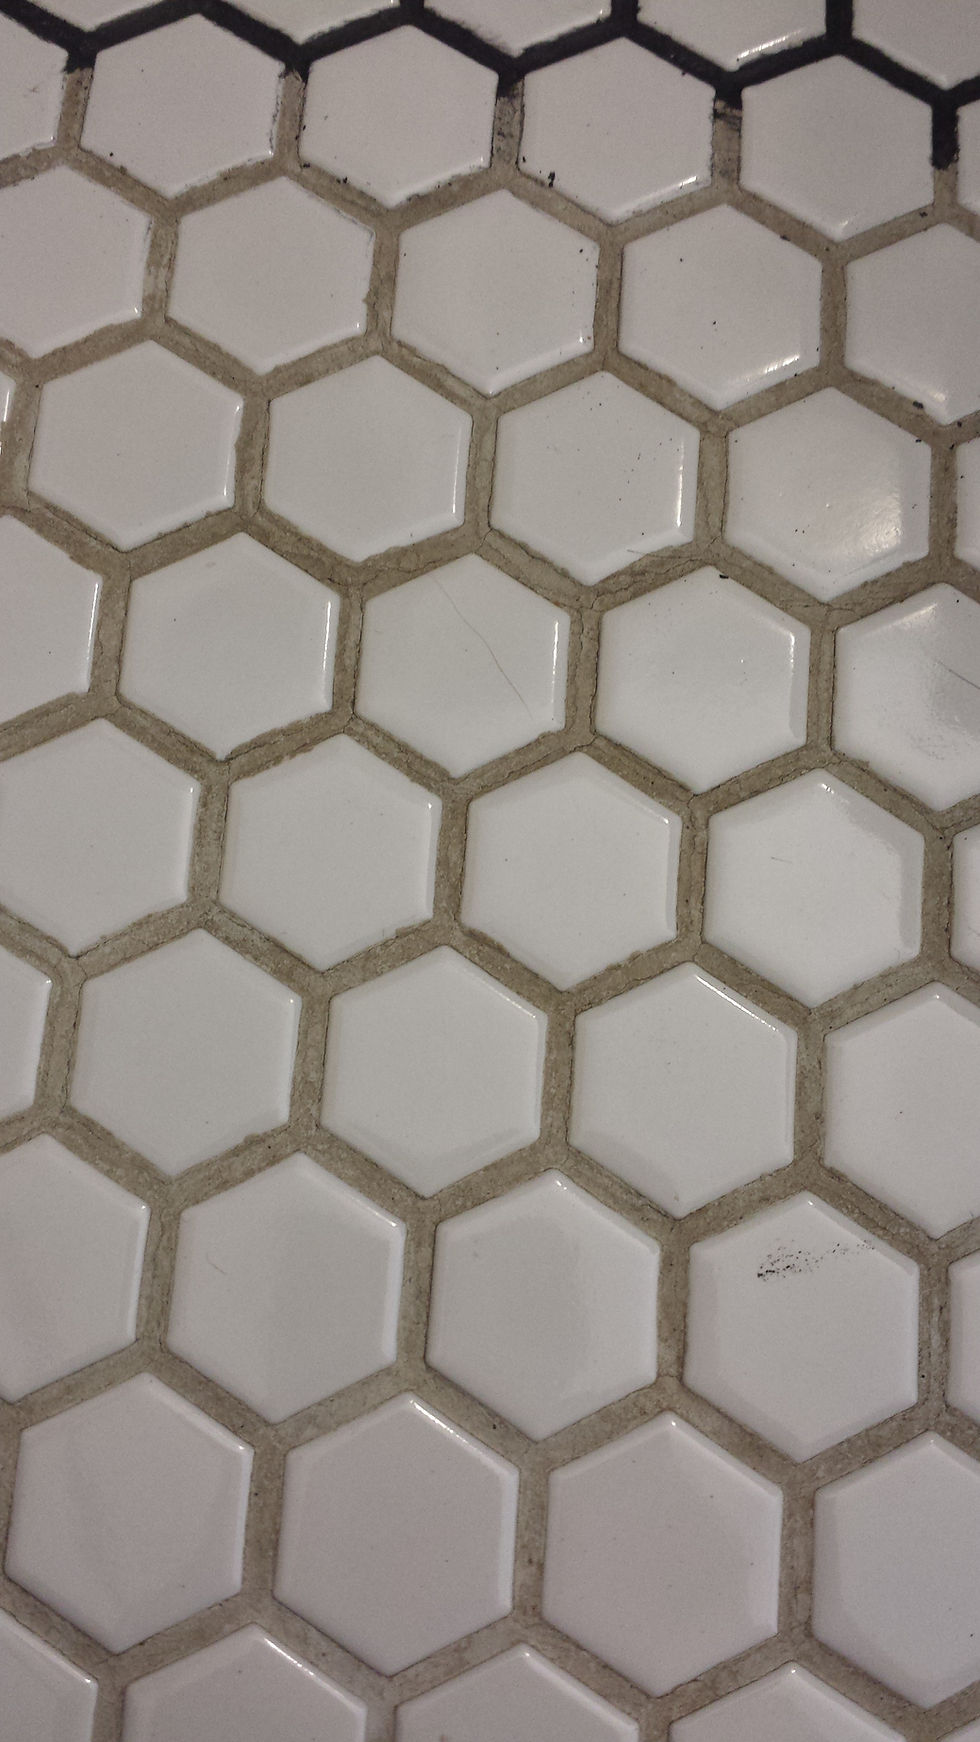
I chose a classic hex tile that felt new and updated but also in the same era of the rest of the house that was built in 1937. I matched that with a light grey grout and let me tell you, it looked so good! Until we started actually using that bathroom. It was so hard to keep it looking clean and the grout quickly started to look dingy.

So gross! Finally, after trying my hardest to come up with a cleaning solution that made it actually look clean, I decided to come up with a different solution and did research into changing the color completely.
I found Grout Renew! It's a simple and inexpensive (only $13 at Home Depot!) solution to the problem I was facing so I gave it a try.
How to:
1. Clean the floor. It says to use a special solution to take off the grout sealant but I just made sure the floors were clean and went to work. If you have a non-sealed stone you have to seal it prior to applying the Grout Renew or else it will color the stone as well. Ours are porcelain so they were already sealed and ready to go!
2. Paint on Grout Renew. I used a small paint brush because I was worried about getting it onto the tile but by the end, the stuff was everywhere and it all came off the tile so this was unnecessary. They recommend using a toothbrush to scrub it into the grout but my lines were so small I would have wasted so much time getting all the excess off.
3. Clean off excess. I cleaned off the excess as I went but there was still a lot that needed cleaning up after I did a large portion. After I let a big section dry for about 30 minutes (sometimes longer depending on how motivated I was) I would get the area wet with a rag, let it sit for 5 minutes and then used a scrubbing sponge. Most of it came off fairly easily but there were some lines that still looked jagged that I would go back in and scrape off with my nail.
When doing this part, try not to push so hard that your scrubber goes into the grout or else the color comes off that as well and you will have to do touch-ups.

There you go! Easy peasy right? Well that is what I thought when I began my process. No one said how long to expect it to take. Now, this tile has so many grout lines which I didn't think about when I started so the whole process took me about 14 hours to do...But I am so happy I did! Now my floor looks clean!
I am struggling with how to style it now because I feel like the bath mat I currently have no longer fits the style of the bathroom. I may have to do some small changes or some painting but it will all be worth it to not have to scrub grout lines any more!


Hi, can you tell me more about how dirty it was? Or do you have pics? The grout turned grout? From mold? I'm considerign the exact same hex and light gray - I love it! But we're not the cleanest home. And personally I don't really like the black. How long did it take to get dirty? Do you have any more pics? Thank you so much!